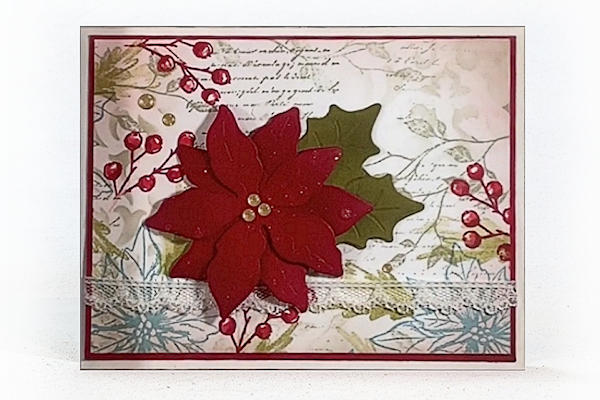
4-in-1 Collage Background
by Kelly Rose
Save time by turning a full sheet collage into four card backgrounds.
Supplies
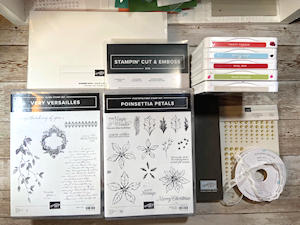
- Cardstock (Stampin’ Up!® Whisper White used here)
- Stamps – focal and accent designs (SU Poinsettia Petals and Very Versailles stamps sets used here)
- Inks (SU Balmy Blue, Real Red, Poppy Parade, Pear Pizzazz and Sahara Sand used here)
- Other supplies as needed to complete the project (SU products used here: Poinsettia dies, cardstock for embellishments and layering, Gold Glitter Enamel Dots, Scalloped Lace Trim)
Step-by-Step
-
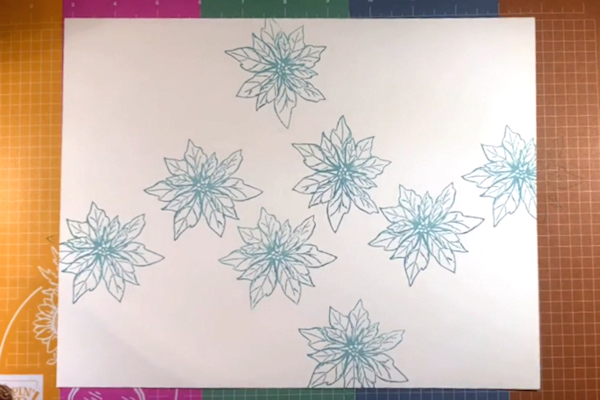
Step 1
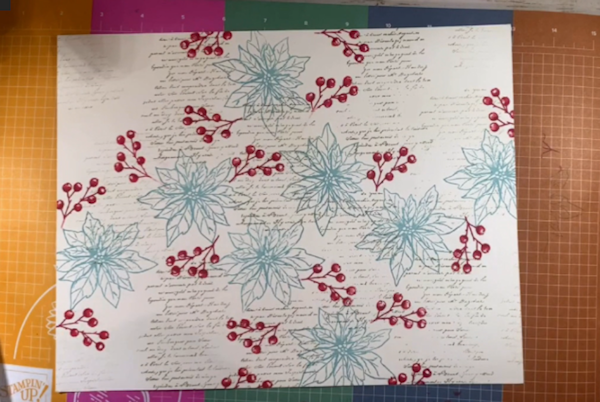
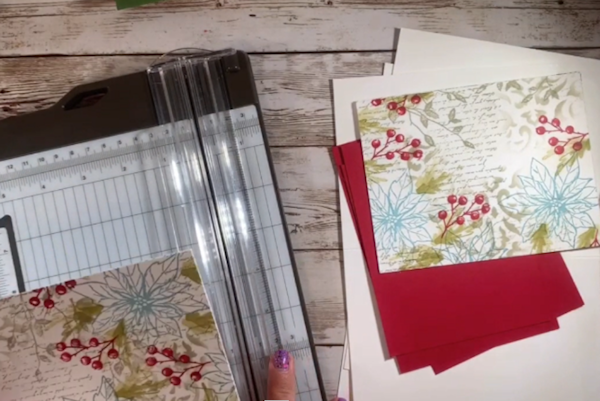
Begin by using a larger image (floral here) to stamp vertically and horizontally down the center of an 8 1/2" x 11” piece of quality stamping paper.
-
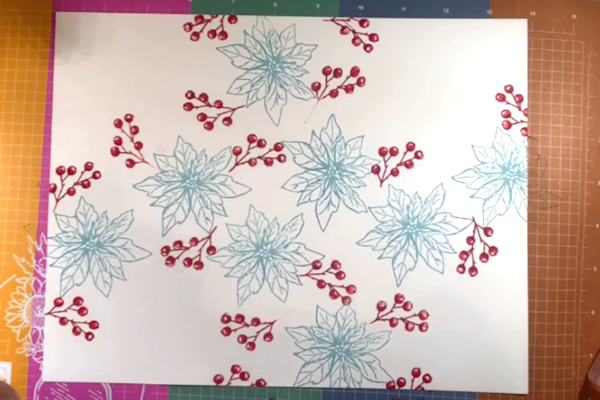
Step 2
Add a contrasting color of a coordinating or complimentary stamped image in the same cross pattern.
-
Step 3
Use a texture stamp (script stamp used here) to fill in open areas all over the paper.
TIP:
Use a neutral or light color that complements your focal color. There is no need to get a solid impression, and you can stamp multiple times without re-inking because you’re just trying to add texture and dimension to the background. -
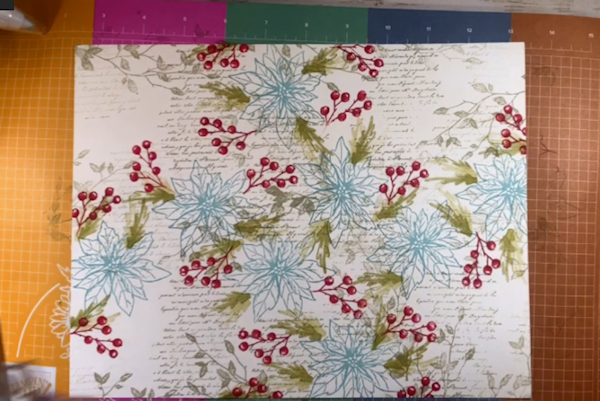
Step 4
Stamp again with another large image like a vine or flourish. Stamp in the same light color. Use a stamp that has a completely different texture, and again, no need to re-ink before each stamp. The variation of color adds to the texture you’re building up.
-
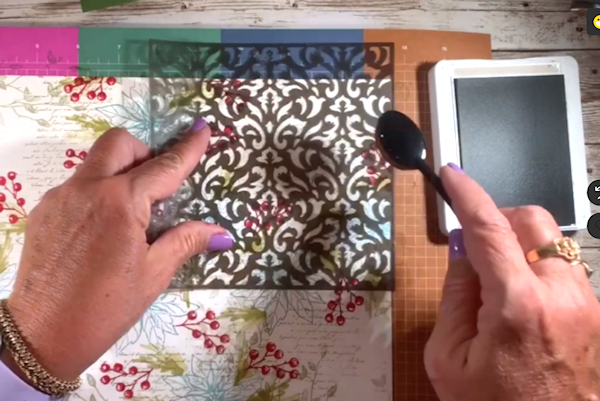
Step 5
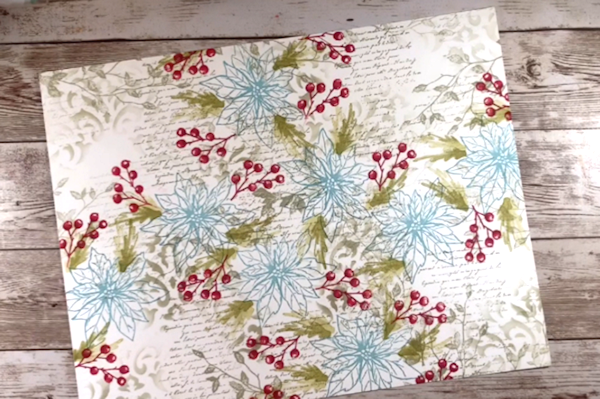
Use a stencil to fill in some of the white spaces left on the background paper. Use a sponge or a brush to lightly apply ink through the mask.
-
Do not completely cover the paper, and just use random portions of the stencil. Use the same or similar color as the textured stamping done in the previous step.
-
Step 6
When you are happy with your background paper, cut it into four panels at 3 7/8” x 5 1/8” and add to a contrasting cardstock layer cut to 4” x 5 1/4”.
TIP:
Use the layering cardstock to cut any embellishments from as it will be mostly hidden under the stamped panel. -
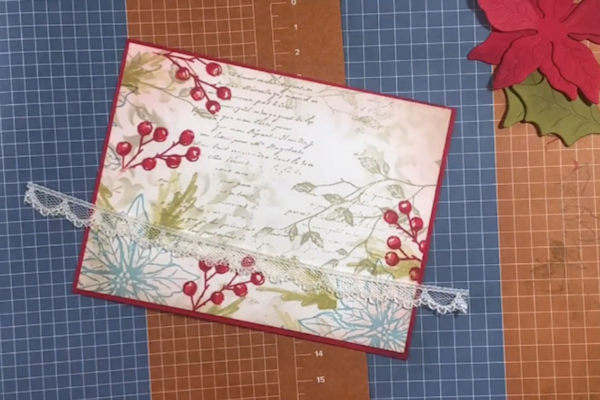
Step 7
Adhere the stamped panel to the contrasting layer. Embellish the card front as desired. Adhere to card base. Repeat for the remaining panels.
-
Step 8
Complete the project.
Stamp the inside of the card and the envelope with the same stamps used in the background paper.
Video!
Your Turn
You've seen the tutorial, now you try it! We've got a section of the gallery set aside for 4-in-1 Collage Background. Try this technique, then upload your artwork to the gallery. Show us your creations!
***Please note - Internet Explorer/Edge is not a supported browser, and will not allow you to see the videos. Please use Chrome, Firefox or Safari to view our tutorial videos.

Questions and Comments
We'd love to get your feedback or questions. Leave your comment below.
Thank you for sharing your beautiful work!
Page 1 of 1 pages