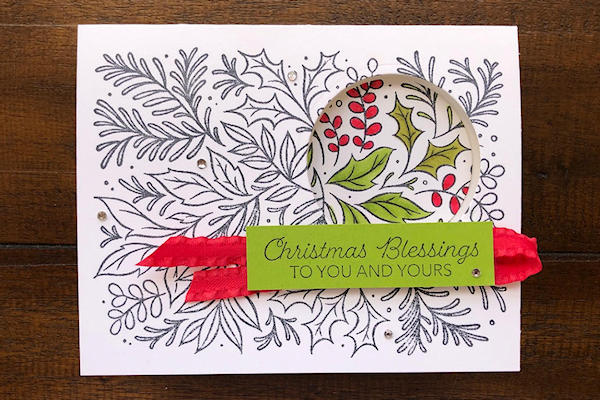
Die Cut Spotlight
by Wendy Fee
Try a fun twist on the classic spotlight technique using dies.
Supplies
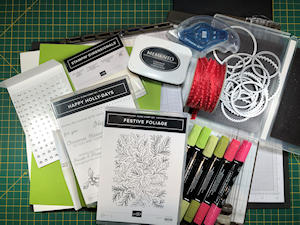
- Cardstock (Stampin’ Up!® Thick Basic White and Granny Apple Green used here)
- Black ink (Tuxedo Black Memento used here)
- Circle die (2-1/8” Circle die used here)
- Die cutting machine
- Paper trimmer
- Scoring board
- Coloring medium (SU Granny Apple Green, Old Olive and Real Red Stampin’ Blends (Alcohol Markers) used here)
- Other supplies as needed to complete the project (SU supplies used here: Stampin’ Seal+, Stampin’ Dimensionals, Bone Folder, Real Red 3/8” Ruffled Ribbon, Festive Foliage background stamp, Happy Holly-Days stamp set, Layering Circles dies, Wink of Stella, Basic Rhinestones)
Step-by-Step
-
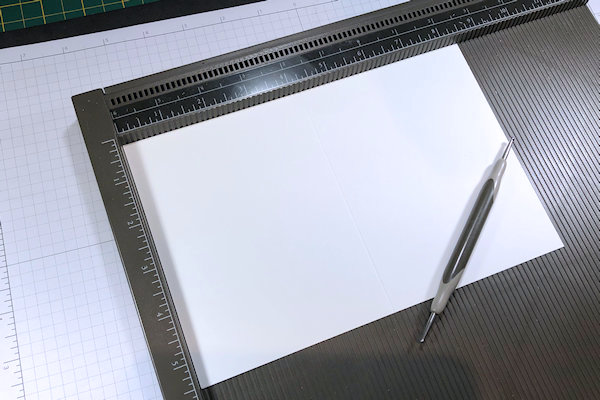
Step 1
Cut a cardstock base to 8 1/2” x 5 1/2”. Score at 4 1/4”.
-
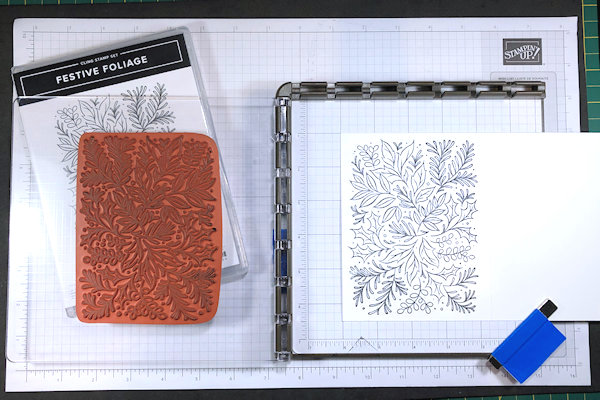
Step 2
Mount a background stamp onto your stamp positioning tool. Ink and stamp the image firmly onto the cardstock.
NOTE:
Be sure your ink is compatible with your coloring medium. -
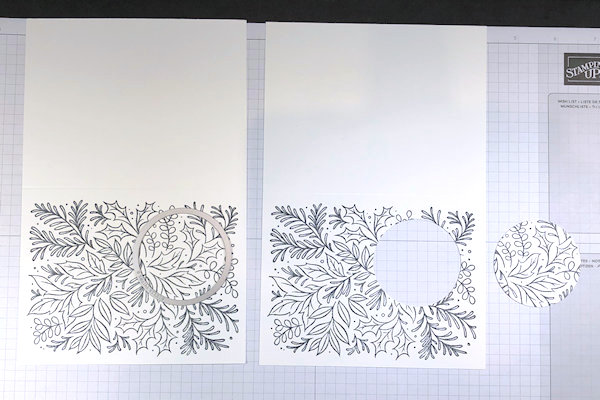
Step 3
Die cut a circle or other outline shape from the stamped image. This circle die (from Layering Circles) has a 2-1/8” diameter.
-
Step 4
Color the cut-out piece with your medium of choice.
-
Step 5
Fold the card base in half and burnish the fold. Leave the card closed. Add adhesive to the back of the circle, and carefully position it within the circle on the card, making sure the image lines between the circle and the card base match. When they do, press the circle through the front of the card, gluing it to the inside.
-
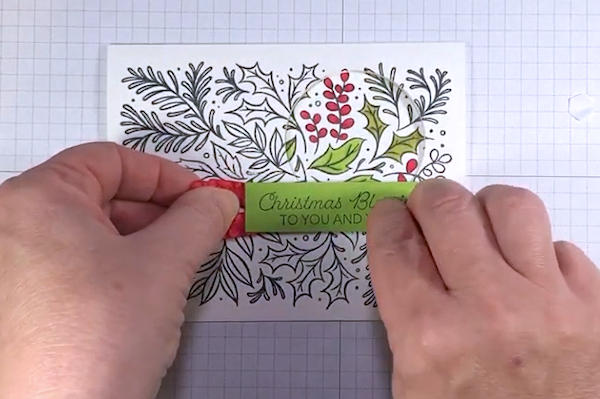
Step 6
Embellish the card front and inside as desired.
-
Step 7
Complete the project.


Video!
Your Turn
You've seen the tutorial, now you try it! We've got a section of the gallery set aside for Die Cut Spotlight. Try this technique, then upload your artwork to the gallery. Show us your creations!
***Please note - Internet Explorer/Edge is not a supported browser, and will not allow you to see the videos. Please use Chrome, Firefox or Safari to view our tutorial videos.

Questions and Comments
We'd love to get your feedback or questions. Leave your comment below.
thank you
Page 1 of 1 pages